If you want a secure and convenient way to store your digital assets, Trezor.io/start is the official platform to begin setting up your Trezor hardware wallet. Whether you’re a beginner or an experienced crypto user, following the steps on Trezor.io/start ensures your wallet is properly initialized and ready to protect your coins and tokens. This guide walks you through the setup process, important features, and best practices so your experience is smooth, safe, and stress-free.
Trezor.io/start is the dedicated setup page provided by Trezor. It helps users activate, configure, and secure their Trezor Model One or Model T wallet. Instead of guessing how to begin, this page gives you the correct tools, official links, and instructions to make onboarding fast and secure.
Using the official site is critical. It protects you from fake installers or phishing links that put your cryptocurrency at risk. Always type the address manually or scan the QR code from your device packaging to land on the right webpage.
Start by unboxing your Trezor hardware wallet and using the USB cable that came with it. When you plug the device into your computer, it will display a message instructing you to visit Trezor.io/start in your browser. This is your signal to begin.
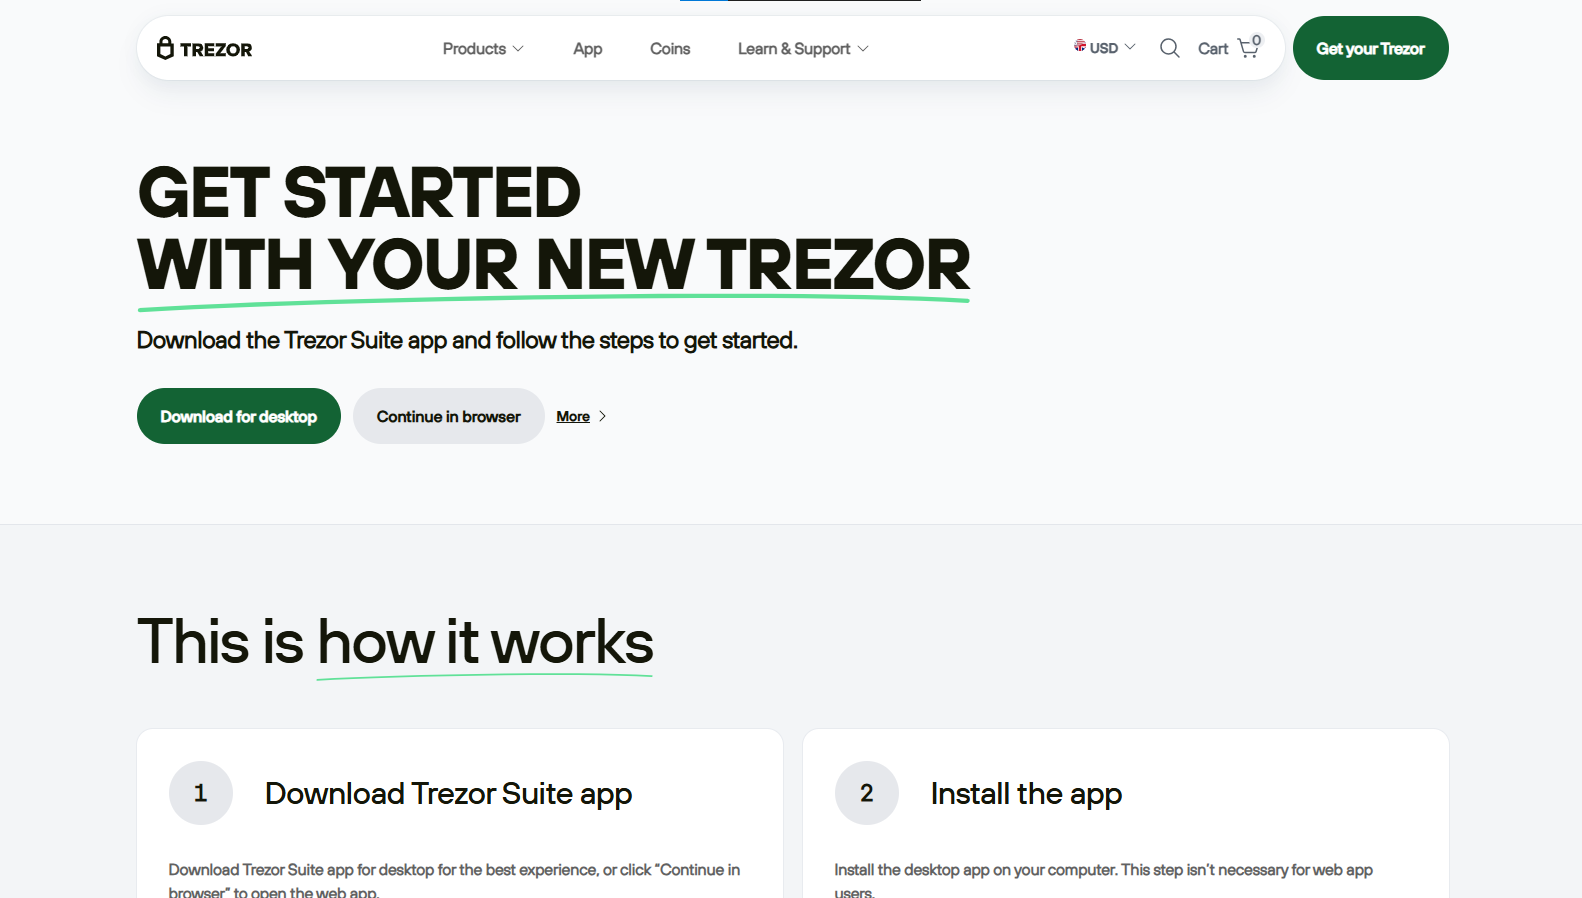
Once on the page, you’ll be guided to install Trezor Suite, which is the official desktop and web interface for managing your wallet.
Trezor Suite is available for Windows, macOS, and Linux. Download it directly from Trezor.io/start to avoid malicious versions. After installing, open the app. It will immediately detect the connected Trezor device and prompt you to continue the setup.
If the firmware on your device needs to be updated, the app will notify you. Always follow the official steps to install or update firmware, as it improves performance and security.
After the firmware setup, you’ll see two options:
If you’re new to Trezor, choose to create a new wallet. The device will then generate a recovery seed, typically 12, 18, or 24 words. These words are the master key to your funds and must be written down on paper. Never store them digitally, never take photos, and never share them with anyone.
If you already have a seed from a previous device or backup, select the recovery option and enter the words exactly as instructed on your device interface.
Next, you’ll set a PIN code to prevent unauthorized access if someone handles your device. Pick a strong PIN, but one you can remember. Each time you connect your Trezor to Trezor Suite, you’ll use this PIN to unlock the wallet.
Once the setup completes, the Trezor Suite dashboard displays your account overview. From here, you can:
Everything is managed through Trezor Suite while your private keys remain locked inside the hardware wallet.
Using Trezor.io/start ensures you follow the correct initialization method without skipping vital security steps. Benefits include:
To keep your crypto secure:
If you’re investing or holding cryptocurrency long-term, beginning at Trezor.io/start gives you a trusted foundation. The setup process is designed to be quick, clear, and secure. By following the official steps, you reduce the risk of theft, scams, and user error.
With your device configured and your seed safely stored, you’re ready to send, receive, and manage digital assets with confidence. Whether you hold Bitcoin, Ethereum, or multiple tokens, Trezor ensures your keys stay offline and under your control. Start the journey the right way—visit Trezor.io/start and protect your crypto future today.